Fun for kids of all ages, including you.
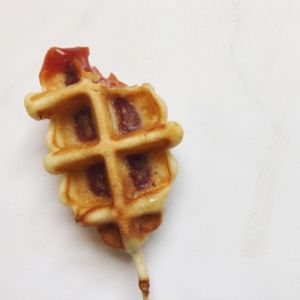
A waffle corn dog? For real? Who’d a thunk it.
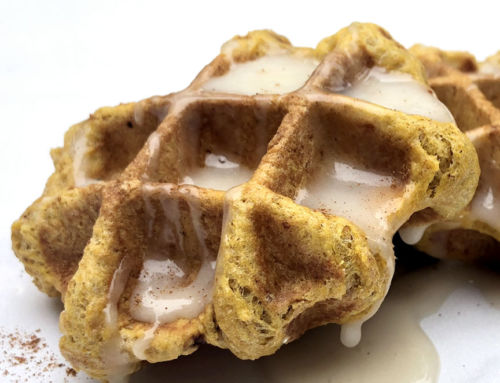
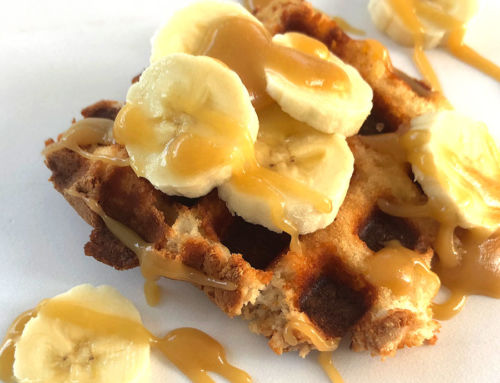
No sugar. No deep frying. Still the same great flavor and just as fun. Make these all year round for yourself, your family, and your friends. They’re perfect for a quick weeknight dinner (especially out of the freezer). Pack them for a picnic or be the highlight of any cocktail party.
These are guaranteed to bring a smile to anyone’s face. Enjoy!
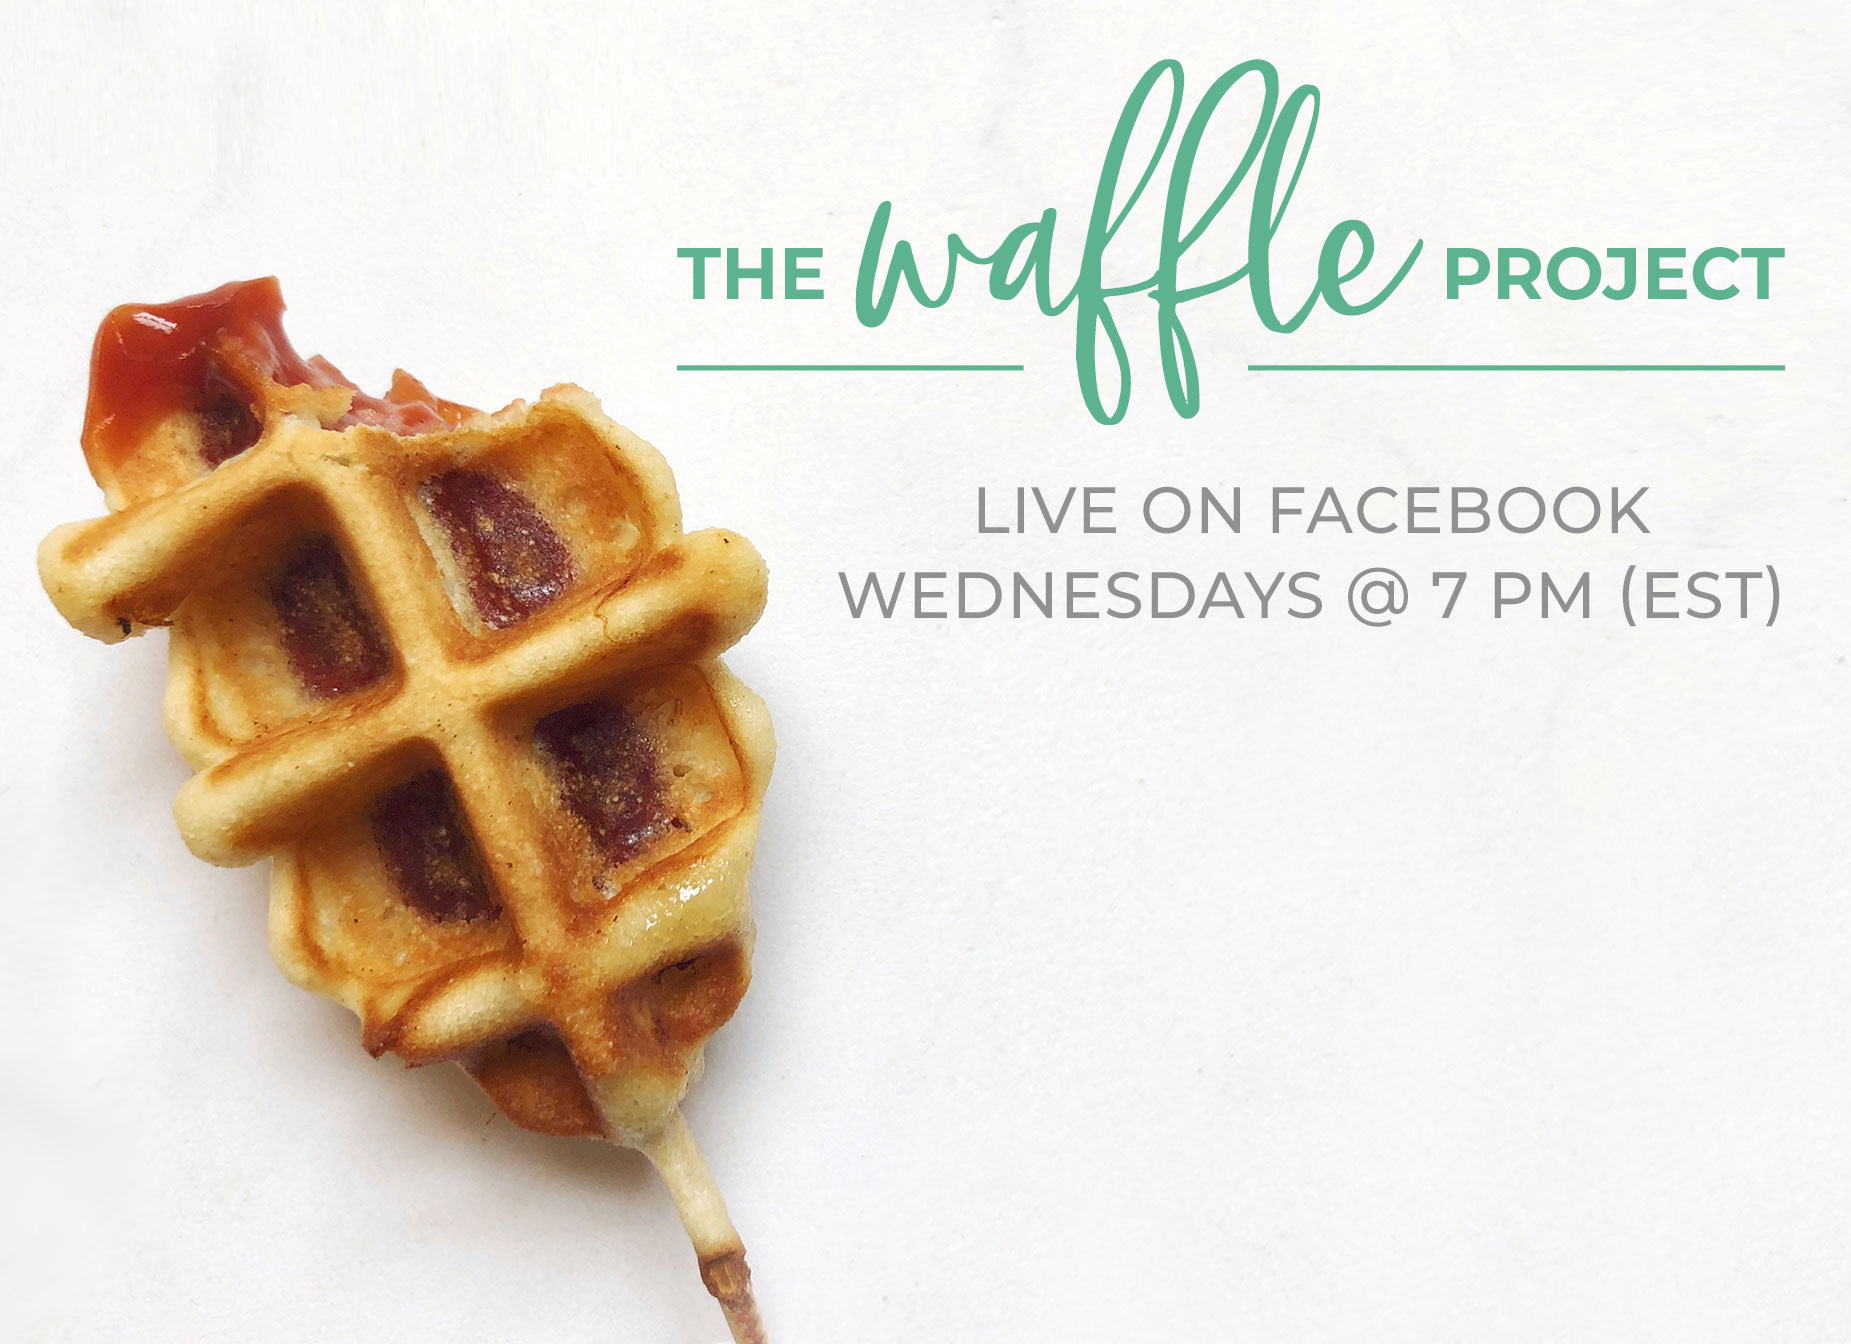
Episode 1 — #TheWaffleProject
Join Jessica and her special guest as they cook this recipe for you. Episodes of #TheWaffleProject are filmed LIVE via Facebook every Wednesday night @ 7 PM in Jessica’s Kitchen. Follow them on Facebook and sign up at The Waffle Project for the latest videos + bonus content.
- 1 cup cornmeal*
- 1 cup AP Flour
- 1/4 tsp salt
- 1 ½ tsp baking powder
- 1 egg
- ⅓ cup honey
- 1-1 ¼ cup buttermilk
- 2 T melted butter
- ¼ cup mustard**
- 2 T honey or more, if desired
- ½ tsp mayonnaise optional
- ¼ cup ketchup
- 1 T pickle Juice Bread & Butter style
- ¼ cup red pepper jelly
- 2 T honey or more, if desired
- 1 tsp mayonnaise
- 1 package hot dogs
- ½ cup cornstarch arrowroot flour, or AP flour
- 12 long skewers wooden
- ½ cup melted butter olive oil, ghee (or cooking spray)
-
Preheat waffle iron. A Belgium waffle iron is ideal for this recipe, but an American waffle iron will work as well.
-
Cut hot dogs in half lengthwise, and then divide each slice in half again (along the shorter length). The goal is to divide one hot dog into 4 short slices that are roughly the size of your thumb. Take the 12 skewers and cut in half. Each stick should be at least 4 inches long. Carefully insert the small skewers about ⅔ of the way into each hot dog slice. Dredge the skewered hot dogs in the cornstarch in preparation for dipping. Shake off, or gently wipe away, any excess cornstarch. This step is essential for the batter to stick properly to the meat.
-
Set aside the skewered and dredged hot dogs while you prepare the batter.
-
In a medium sized mixing bowl, add the cornstarch, flour, salt, and baking powder. Mix thoroughly to eliminate lumps. Separately, in a small bowl, mix together the egg, honey, buttermilk, and melted butter. Pour the wet ingredients into the dry ingredients and mix together. If the batter is too thick for dipping, add a few more splashes of buttermilk (mixing in a little at a time). If the batter is too thin, add a little extra flour to the mixture (1 teaspoon at time, until you achieve the proper texture). You want the batter to have a porridge-like texture—smooth yet thick.
-
Fill ⅔ of a tall drinking glass with the mixed batter. Be sure to leave enough room in the glass to avoid overflowing. Pour in more batter as the level gets lower.
-
Before dipping the hot dogs, brush the melted butter onto the surface of your waffle iron—both top and bottom sides.
-
Next take the skewered hot dogs and dip them into the tall glass. Fully submerge and cover the surface of the meat. Shake off any excess batter, or let it drip off slowly. Note: If your glass is wide enough, you can dip 2-3 at a time to speed up the cooking process.
-
One at a time, place the dipped hot dogs onto the hot waffle iron. If you have a smaller waffle iron, you can have the sticks poking outward. Otherwise, you can have the sticks inside the waffle iron, within an open crevice. Warning: the sticks do get hot, so handle them carefully and use tongs for lifting them out of the waffle iron.
-
Cook the corn dogs, 5-7 minutes, in small batches (4-6 per batch, depending on the size of your waffle iron). You want a golden brown color on the exterior. For this recipe, it’s totally fine to take a peek and lift the waffle iron lid during the cooking process to make sure you’re not overcooking them.
-
When fully cooked and golden brown, carefully remove the waffled corn dogs and place onto a serving platter or tray for cooling.
-
Mix together the dipping sauces into three individual bowls and serve together with your platter of waffle corn dogs. Serve warm or at room temperature.
-
Place cooked waffled corn dogs (still on their sticks), onto a cookie sheet. Slide the sheet into your freezer and keep them there for 60 minutes. Set a timer so you don’t forget. You want to avoid freezer burn. Take the frozen corn dogs and store them in a glass storage container or inside a freezer safe zip-top bag (gallon size). These should be good for about 3 months in the freezer.
-
From the storage container, take out as many frozen waffle corn dogs as you desire. Close up the container and return the remaining corn dogs to the freezer to save for later.
-
Place the frozen corn dogs onto a cookie sheet and slide them into the oven (turned off, not preheated yet). Set and turn the oven on to 375º F and by the time the buzzer goes off, your waffle corn dogs will be ready to enjoy!
-
Please come back to ATasteforLiving.com/Waffle to check out more videos + recipes. Create delicious memories, dear friends.
* Fine Ground is essential for this recipe. Alternatively, you can use Corn Flour or Semolina to achieve similar results.
** Dijon is ideal, but brown or yellow mustard works just as well.
Featured Guest in Video

Meet our friend Jim Vaughey of Brntorange.com — an artist who creates vivid illustrations from cut paper. He’s also an active member of Jessica’s cookbook club. Honestly he’s the only dude that participates on a regular basis and it doesn’t bother him one bit. We all love Jim. He’s all the reason why The Waffle Project exists. Watch the above video to hear why.
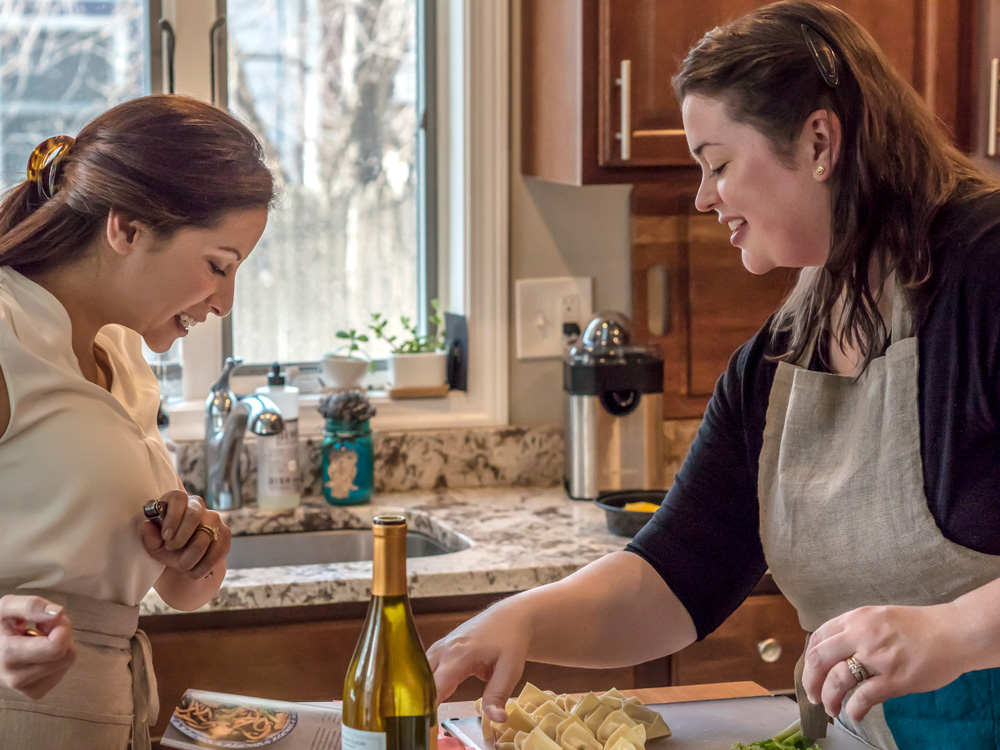
We’re Catherina (left) and Jessica (right), and we feel delighted that you’re here. Welcome! Gathering with friends—old and new—around a delicious meal is one of our favorite things to do.
Sadly, people’s social lives are shifting away from the personal face-to-face experience, and more toward the single isolated screen. Yeah, no thanks!
So, we’ve created this site to inspire you to reach out and connect with others (or reconnect with old friends). It’s way more than a food blog . . . Continue

New on the Shelf

LIVE ON FACEBOOK • WEDNESDAYS @ 7 PM
We invite you to sign up and stay up to date on new episodes.
By subscribing, you get watch our growing library of videos, download the recipes, and access our bonus content.